Before you start
Notifications are per user, per project.
Each project member controls their own email preferences, so two people on the same project can choose different alert behavior. Before changing thresholds, confirm which user should receive email and which project they are configuring.
Read the setup requirements when an enabled notification does not arrive.
Choose a path
Use the card that matches why the user wants email.
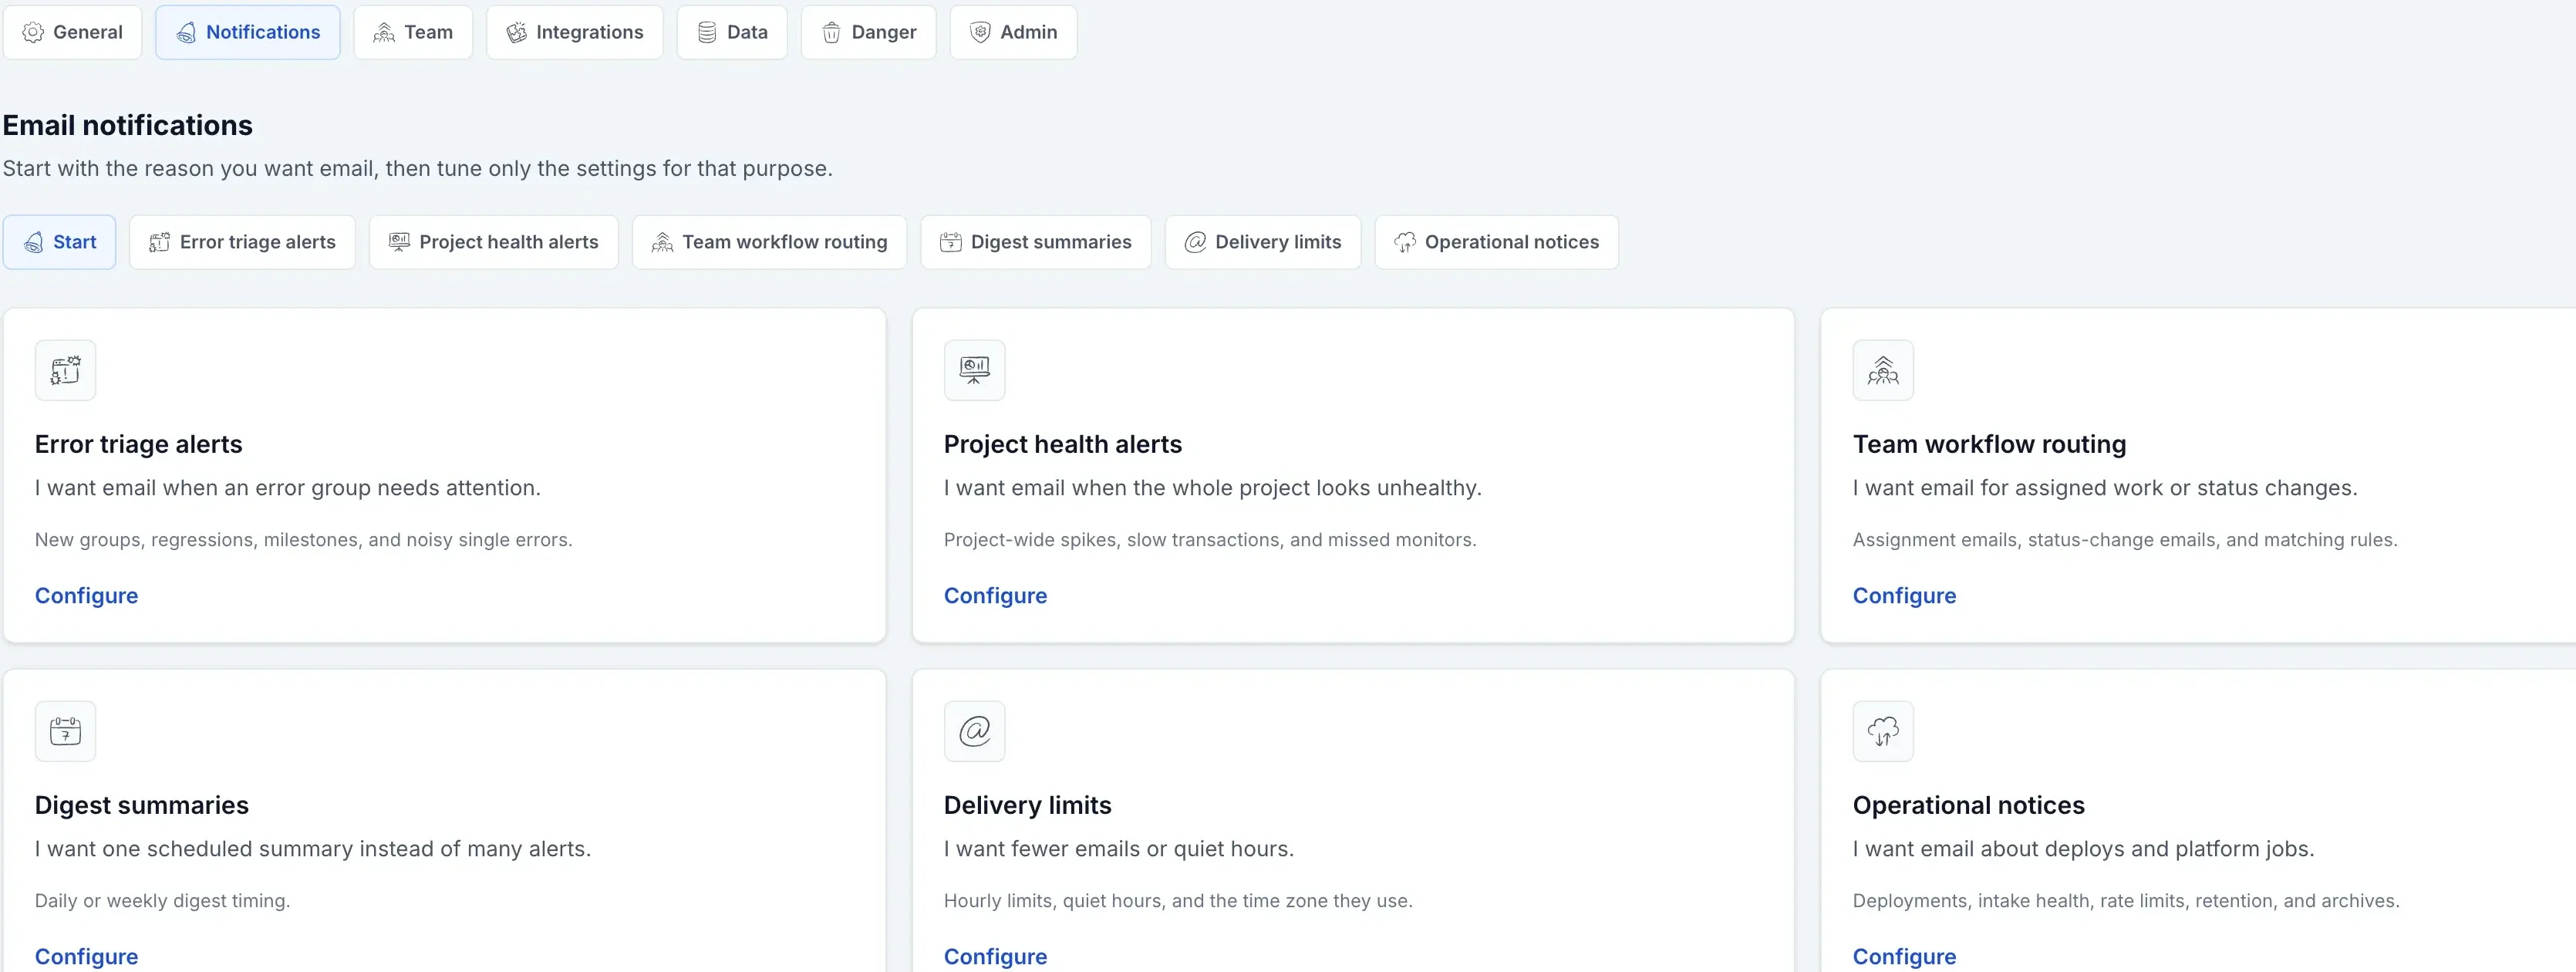
Errors
Error triage alerts
Use when the user wants immediate email about one error group needing attention.
Health
Project health alerts
Use when the user wants to know when the whole project is noisy, slow, or missing check-ins.
Routing
Workflow routing
Use when the user wants assignment and status-change mail for their work or matching project changes.
Reports
Digests and delivery
Use when the user wants daily or weekly summaries, hourly caps, or quiet hours.
Ops
Operational notices
Use when the user wants deployment, intake, quota, retention, or archive failure mail.
Defaults
The default setup favors important immediate alerts.
| On by default | Off until enabled |
|---|---|
| New error groups, reopened error groups, check-in monitor alerts, intake/quota warnings, retention/archive failure notices. | Digests, project-wide spikes, performance alerts, lifetime milestones, frequent single-error alerts, and deployment summaries. |
Next steps
Keep the overview short; use the subpages for exact controls.
When something does not send, first confirm the alert belongs to the path you configured. For example, a noisy single error belongs to Error triage, while a noisy whole project belongs to Project health. Then use setup requirements for delivery checks.